
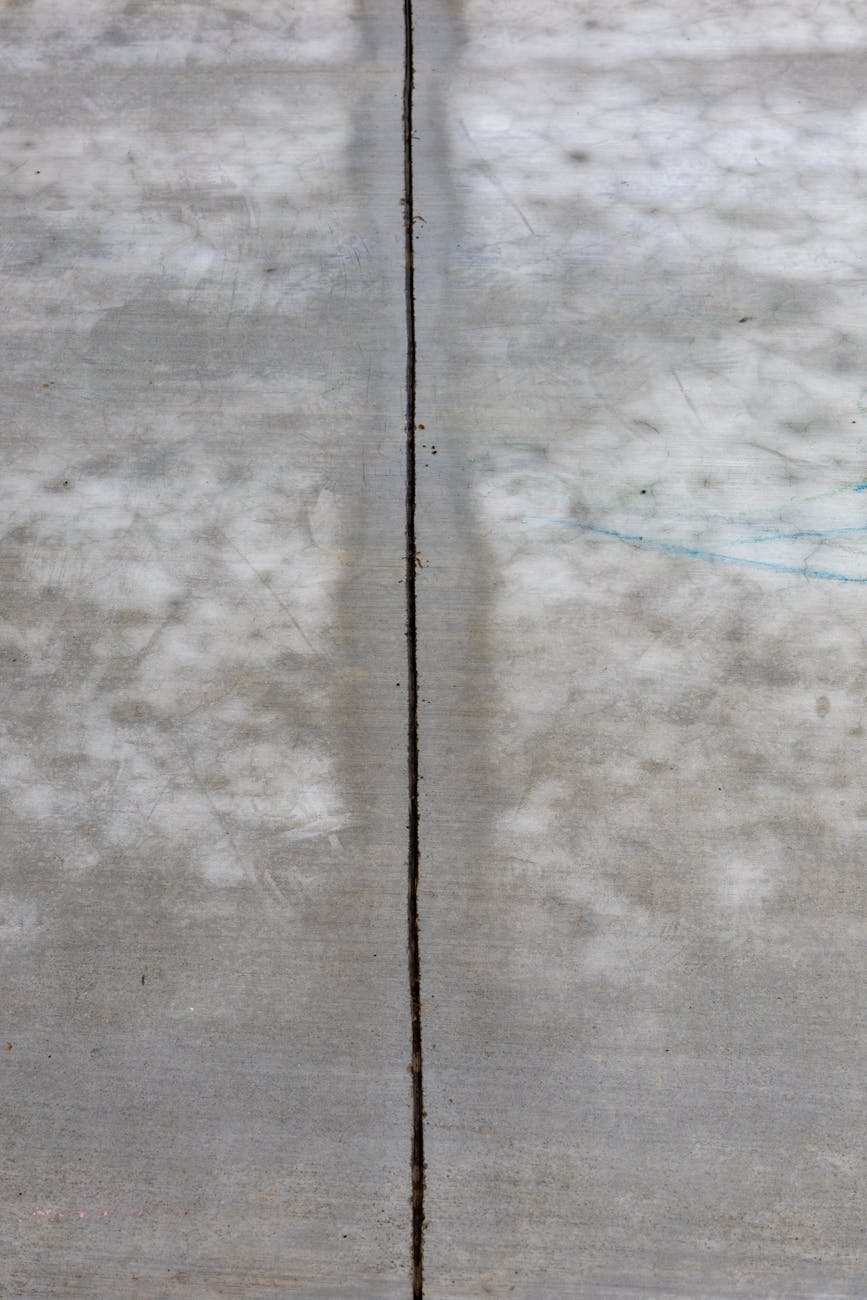
Movement control joints are one of the most critical components in tile, stone, and concrete installations. They are designed to absorb movement, prevent cracking, and protect surfaces from stress caused by temperature changes, structural settling, and substrate expansion. Without proper movement joints, even the best installation can fail prematurely.
In the UAE, where temperature fluctuations, humidity, and building movement are common, movement control joints are not optional. They are essential for long‑term durability, especially in large-format tile installations, outdoor areas, commercial buildings, and high‑traffic environments.
This comprehensive guide explains everything you need to know about movement control joints: how they work, where they should be installed, the different types available, installation guidelines, and how to choose the right system for your project.
Why Movement Control Joints Matter
Movement joints protect surfaces from internal stress. Buildings move constantly due to:
Thermal Expansion
Tiles, stone, and concrete expand and contract with temperature changes. In the UAE, outdoor surfaces can reach extreme temperatures, causing significant expansion.
Structural Settling
All buildings settle over time. Without joints, this movement transfers stress directly into the tile or stone.
Substrate Movement
Concrete slabs shrink, expand, and shift. Movement joints absorb this motion.
Moisture Changes
Humidity affects materials differently. Porous materials expand when exposed to moisture.
Vibration
Foot traffic, machinery, and vehicles create vibration that can cause tile delamination.
Movement joints prevent:
- Tile cracking
- Grout cracking
- Debonding
- Tent‑ing (tile lifting)
- Hollow sounds
- Surface failure
Where Movement Control Joints Are Required
Movement joints must be installed in specific locations to ensure proper stress distribution.
Perimeter Joints
Installed along walls, columns, and fixed structures. These joints allow the tile field to expand without pushing against rigid surfaces.
Field Joints
Installed within the tile field at regular intervals.
Standards typically recommend:
- Every 4–5 meters indoors
- Every 3–4 meters outdoors
- Every 2–3 meters in areas exposed to direct sunlight
Transition Joints
Installed between different materials such as:
- Tile to concrete
- Tile to wood
- Tile to vinyl
- Tile to carpet
Doorway Joints
Doorways create natural stress points. Movement joints prevent cracking at these transitions.
Around Columns and Penetrations
Columns do not move with the floor slab. Joints prevent stress transfer.
Outdoor Areas
Balconies, terraces, and walkways require more frequent joints due to temperature extremes.
Types of Movement Control Joints
Movement joints come in several designs depending on the application.
1. Surface Movement Joints
Installed on top of the tile surface.
Materials:
- PVC
- Rubber
- Aluminum with flexible inserts
Best for:
- Commercial floors
- Retail spaces
- Corridors
- Public buildings
2. Recessed Movement Joints
Installed flush with the tile surface.
Advantages:
- Cleaner appearance
- Better protection
- Long‑term durability
3. Expansion Joints for Outdoor Areas
Designed to handle large movement ranges.
Materials:
- EPDM
- Rubber
- Flexible polymers
Best for:
- Terraces
- Balconies
- Walkways
- Parking decks
4. Heavy‑Duty Movement Joints
Used in industrial and commercial environments.
Features:
- High load capacity
- Impact resistance
- Durable inserts
Best for:
- Warehouses
- Airports
- Shopping malls
5. Tile Trim Movement Joints
Integrated into tile trim systems.
Advantages:
- Easy installation
- Clean finish
- Suitable for residential use
How Movement Control Joints Work
Movement joints absorb stress by allowing controlled movement in multiple directions:
Horizontal Movement
Expansion and contraction of tiles.
Vertical Movement
Substrate settling or shifting.
Shear Movement
Differential movement between materials.
The flexible insert compresses and expands as needed, preventing stress from transferring to the tile.
Choosing the Right Movement Joint
Selecting the correct joint depends on several factors.
1. Location
Indoor joints require less flexibility than outdoor joints.
2. Traffic Load
High‑traffic areas require durable materials.
3. Tile Size
Large-format tiles require more frequent joints.
4. Substrate Type
Concrete, screed, and raised floors all behave differently.
5. Environmental Conditions
Outdoor areas require UV‑resistant materials.
Installation Guidelines
Proper installation is essential for joint performance.
Step 1: Plan Joint Layout
Determine spacing based on room size and environmental conditions.
Step 2: Prepare the Substrate
Ensure the substrate is clean and level.
Step 3: Install the Joint Profile
Embed the joint into the adhesive bed.
Step 4: Install Tiles
Leave a small gap between the tile and the joint profile.
Step 5: Fill with Flexible Material
Use high‑quality silicone or polyurethane sealant if required.
Step 6: Clean and Inspect
Ensure the joint is free of adhesive and debris.
Common Mistakes to Avoid
- Not installing enough joints
- Using rigid grout instead of flexible sealant
- Installing joints only at the perimeter
- Ignoring manufacturer spacing guidelines
- Using the wrong joint material for outdoor areas
- Installing joints after tiling (incorrect method)
Maintenance of Movement Joints
Movement joints require minimal maintenance but should be inspected periodically.
Inspect Annually
Look for:
- Cracks
- Loose inserts
- Debris buildup
Replace Worn Inserts
Rubber and PVC inserts may wear over time.
Clean Regularly
Remove dirt and debris to maintain flexibility.
Conclusion
Movement control joints are essential for preventing cracks, tile failure, and structural stress. With proper planning, installation, and maintenance, these joints ensure long‑term durability and performance in both residential and commercial environments. Whether indoors or outdoors, movement joints protect your investment and maintain the integrity of your flooring system.